Introduction
Obsidian is a great tool, if you're not familiar with it yet - it's a markdown editor for writing notes, documents, knowledge base or thoughts. It is a very flexible tool and it can be shaped to do almost anything by just adding plugins.
And it also has a view to see the connection between different files, Zettelkasten style, but we won't touch on that here, what we are going to touch on is how you can use Obsidian to manage a GitHub repo.
This can be also viewed the other way around - to use GitHub to store your Obsidian documents, which is the same thing but for a different use case, we'll cover both of these use cases here, so just keep reading.
Why use GitHub + Obsidian together?
This question can be split into 2 parts, depending on your use case:
Why use Obsidian as my GitHub front-end?
Obsidian uses markdown files (.md files), if you're a developer chances are you also use those files as README files on GitHub, and if you have a repository of knowledge base or documentation chances are you use them a lot.
Hand coding these files is fine, but Obsidian can be much nicer to look at than your IDE and also offers some more functionality like the ability to render them properly, helping you with syntax if you forgot how to write something and so on.
It's also very nice to separate your coding environment from your documentation environment, since you might have to jump between them all the time.
Why use GitHub as my Obsidian back-end?
GitHub can offer a free hosting to make sure your files are safe, it's one of the most reliable websites out there. Almost every developer on the planet uses GitHub for their work so you can bet the site is (almost) never down.
It can also give you some knowledge of how stuff work on the internet, a GitHub account is very handy for lots of third-party apps and services and you don't need to worry about security or maintaining your files, it will all be done for you.
Your repository can be made private, if you're worried somebody will see your grocery lists but as a rule of thumb you shouldn't write passwords or sensitive data in your GitHub repository, even private ones.
First steps:
Pulling a repo from GitHub
Before you begin, you’ll need the actual files from GitHub on your computer, to do so I recommend using the official GitHub Desktop Client.
This step can also be done with other apps such as Fork, Working Copy and more, it could also be done via the Terminal if you’re comfortable with CLI tools.
If you don’t have a particular repo you need to sync to, just open a new repo on GitHub specifically for that purpose.
Adding a gitignore file
This step is important to do before you make this repo an Obsidian vault, since Obsidian will automatically save some files to the vault’s folder.
These files will live inside a folder called .obsidian (at least on Mac OS), and to prevent this folder from syncing you can just add to the repo a file called .gitignore
This file should contain this line:
.obsidian/Please push and commit this file back to GitHub before continuing.
If you do want to sync this folder just be aware that Obsidian will sync to GitHub your app settings, preferences and plugins you may install.
In a work setting this might be useful to sync to all employees, so they will use the same settings and plugins out of the box, so if you prefer syncing it- ignore the gitignore step and continue.
Installing Obsidian
Go to the Obsidian website and get the latest version to your preferred OS - Mac, Windows or Linux and install it (I’m sure you know how to install applications on your preferred OS).
After installing it, go ahead and open the application, on first run you will see a popup window like this:
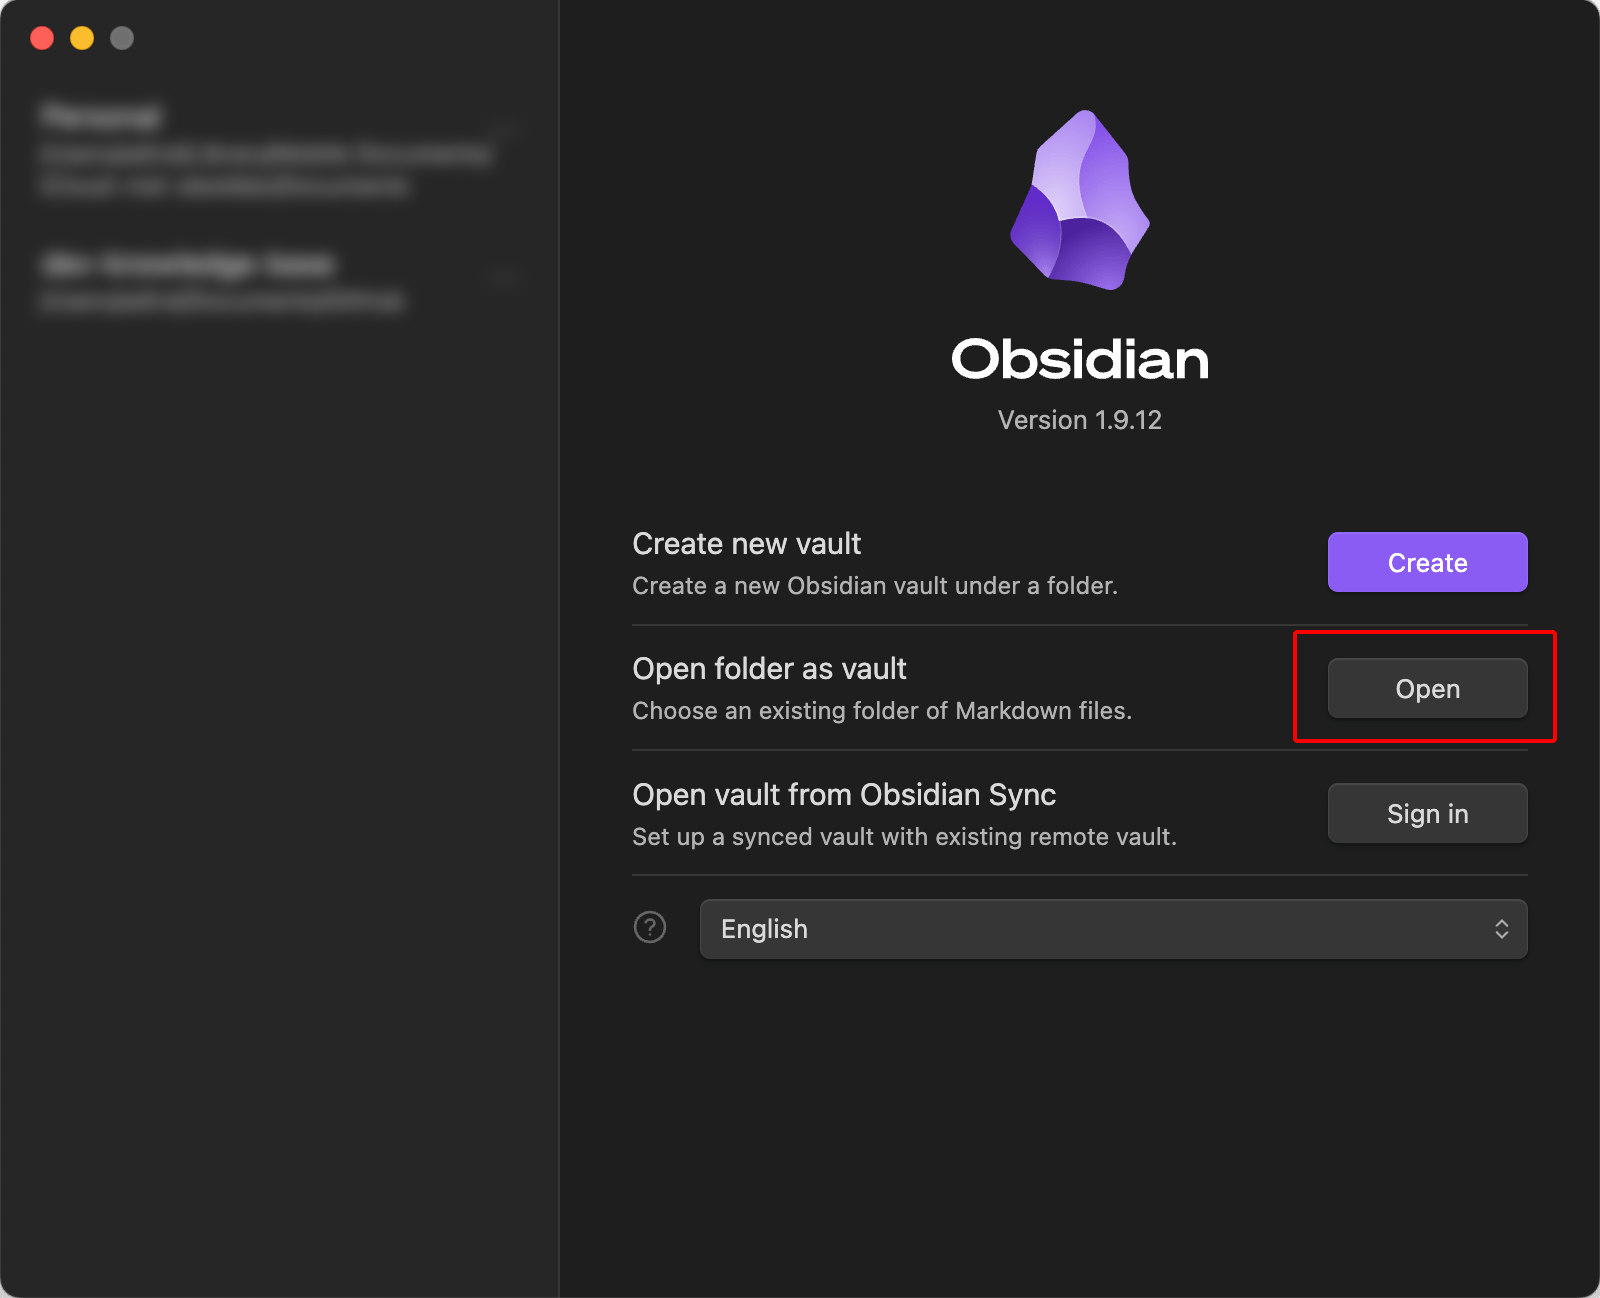
You should use the “Open folder as vault” option
If this popup didn’t load automatically, you can always go to “File” then “Open Vault” in the Obsidian native menus.
Pick the “Open folder as vault” option (highlighted in red - see image above) and from there just pick the GitHub repo folder we did set up before installing Obsidian, if you didn’t do that- please scroll up to the “First steps” section of this article.
Using the GitHub Sync Plugin
There’s a lot of Community Plugins for Obsidian, and I mean a lot, and there are a few options to sync with GitHub, I like the plugin called GitHub Sync by Kevin Chin as I find it the most simple to set up.
In order to get it installed you’ll need to first “Enable Community Plugins” in the Obsidian settings, I recommend that you do since those plugins make Obsidian so much more robust and also tailored to your specific needs.
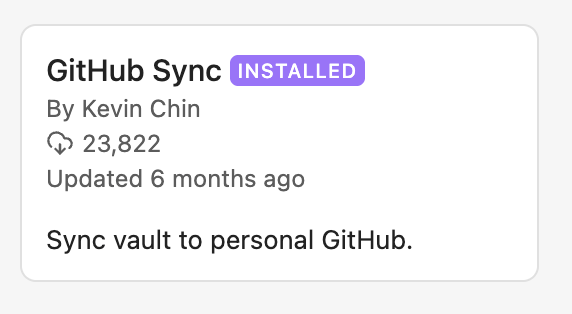
GitHub Sync Plugin - by Kevin Chin
Once this is installed you’ll need to set it up, go to your settings and in the bottom of your settings you’ll now have a new setting called “GitHub Sync” (it should be the last one, unless you have more plugins installed).
I recommend setting the Remote URL setting from GitHub in HTTPS format, which sounds complex, but GitHub will just give you this format (see images below).
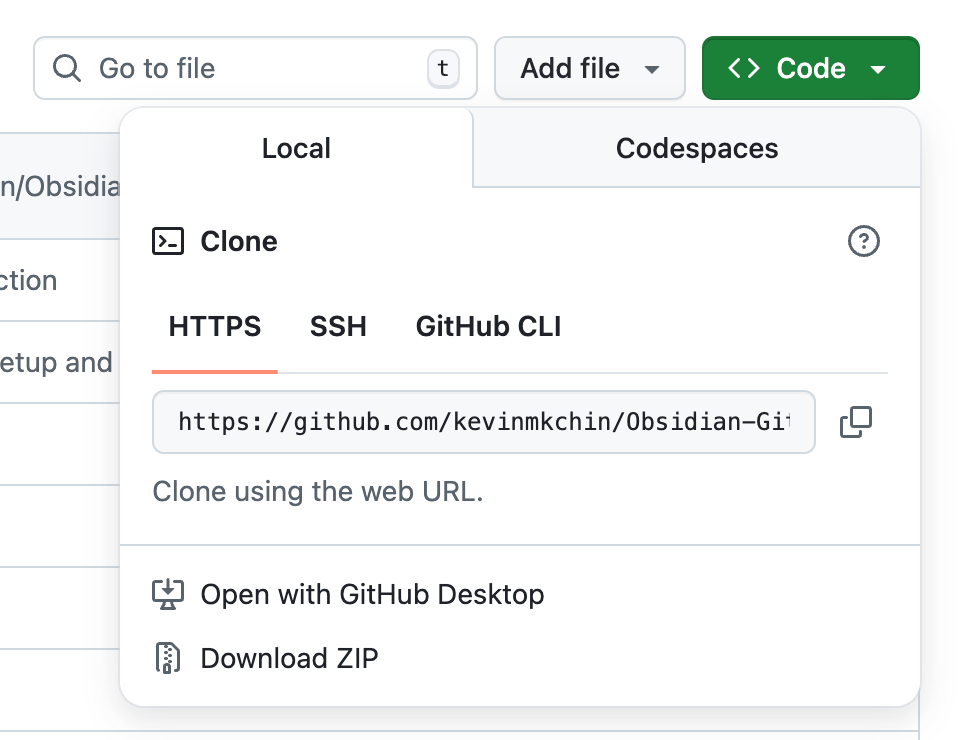
Just make sure you’re in HTTPS tab, then hit copy
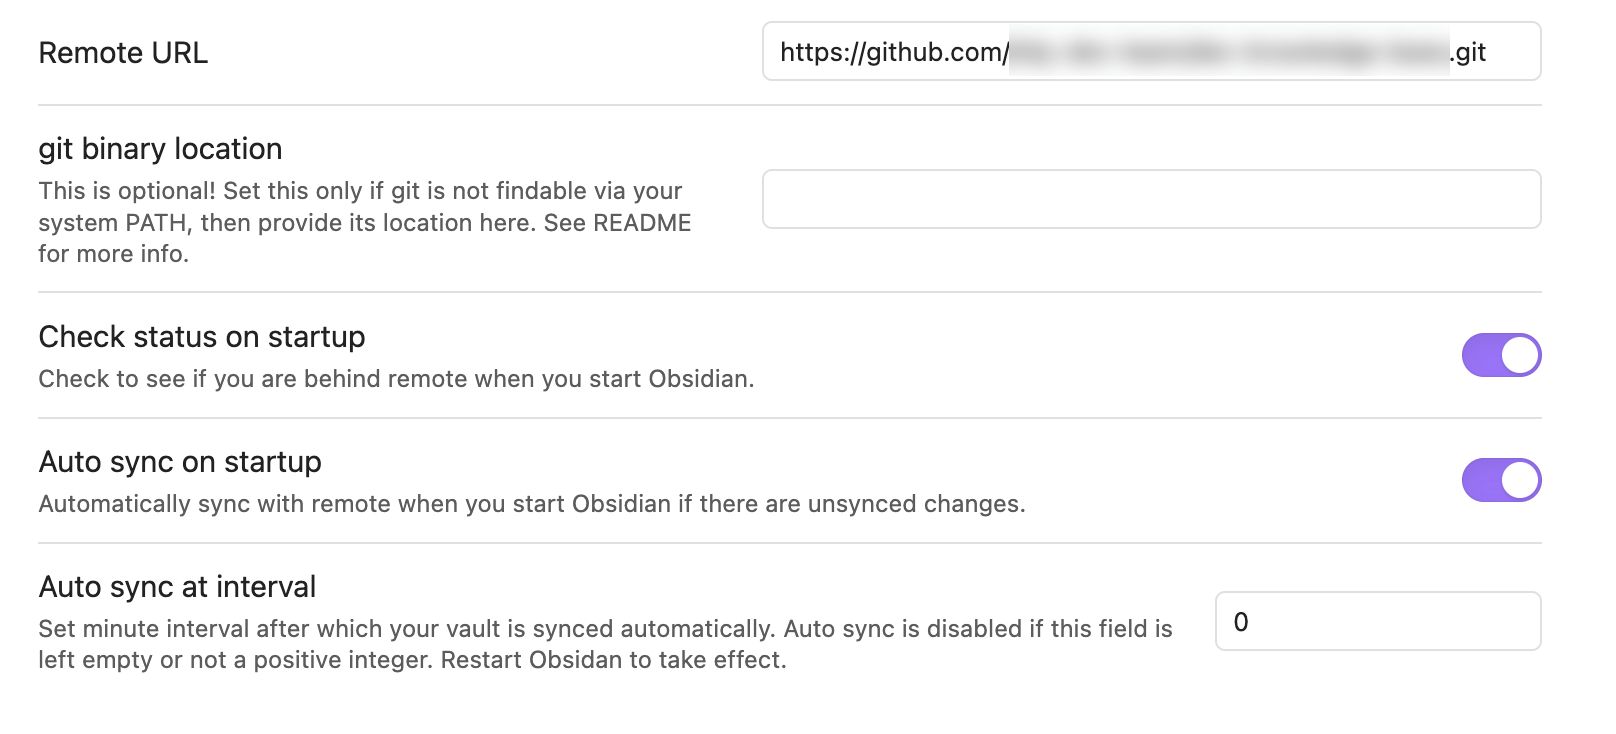
My recommended settings, notice the git location is in HTTPS format
Now if everything is setup correctly, you’ll see a GitHub icon in your Obsidian sidebar to your left, the icon should be the last one by default and when you hover your mouse over it- a little tooltip with a label “Sync with remote” should appear.
Try clicking it, did it sync successfully?
If yes - you’re done! Congrats 🎉
If not - close Obsidian completely, open it again and try syncing it again.
Summary
This was fun, now your Obsidian got a very reliable and professional backend, or your GitHub repo have a very nice and professional frontend. Either way- now you’re cooking.
Let me remind you that Obsidian is mostly useful (at least out of the box) for Markdown files, so this will be best for knowledge base or documentation repositories, less for an actual code repo - but that’s what your IDE is for.
If you’re working in a team, please remember that not everybody is using Obsidian so I do urge you to check the actual GitHub repo on the web from time to time to make sure you didn’t push anything that renders poorly on the site itself.
Also if you’re working from a few different devices- don’t push to GitHub from all of them at the same time as you might encounter conflicts.
Merge conflicts aren’t a massive issue on GitHub but you will have to go to GitHub on the web to resolve them (or use an IDE), an Obsidian plugin just won’t do here, so be careful and don’t push updates within 10 seconds of each other, as a rule of thumb.
I hope you enjoyed this article, please tell me if you did.
You can find me on all major social platforms:
Threads, Twitter, BlueSky
See you next time.